Send Emails using Resend and Nextjs Server Actions

Author: Celestine Mboya
March 31, 2024
Hello today, I will show you how to send emails using Nextjs Server Actions with Resend. I will be using typescript in this tutorial.

Introduction
Resend is a platform for sending both transactional Emails and Marketing Emails. It is built for developers and resend claims that your email will never reach the spam folder.
React Server Action on the other hand was just introduced lately by the react team and React frameworks like Next.js have already adapted it. React server actions eliminate the need for the API routes and instead handles all the methods directly.
React Email is a Email template library with a good number of popular email templates that you can just install directly to your project. You can also use the library building blocks and build your beautiful email component.
Now let us send an email.
1. Getting Started
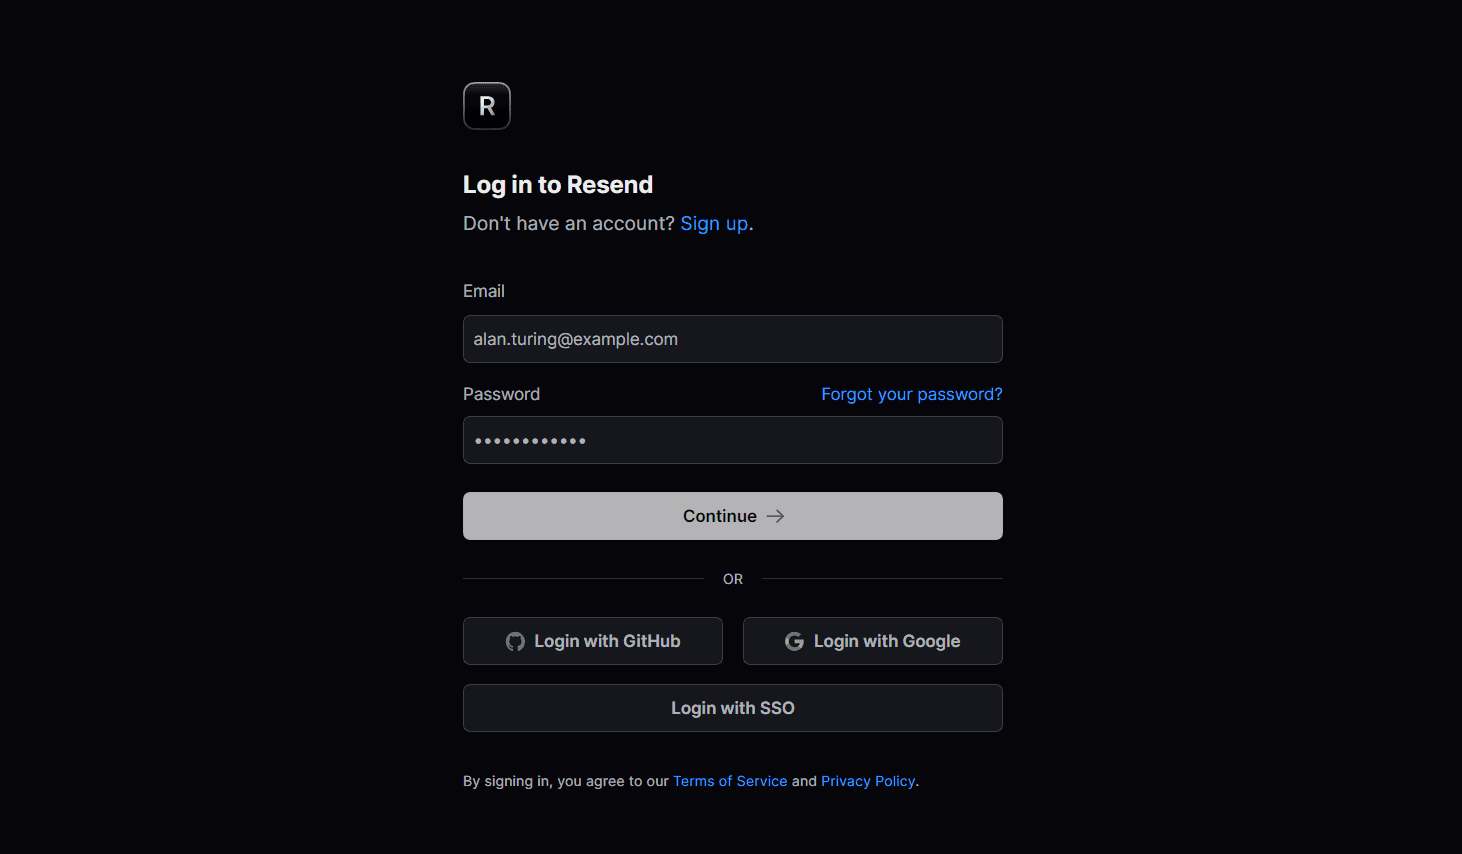
First of all go to the Resend Login and create an account. Once you login connect your domain.

2. Connecting Domain
If you do not have a domain name you can just skip to
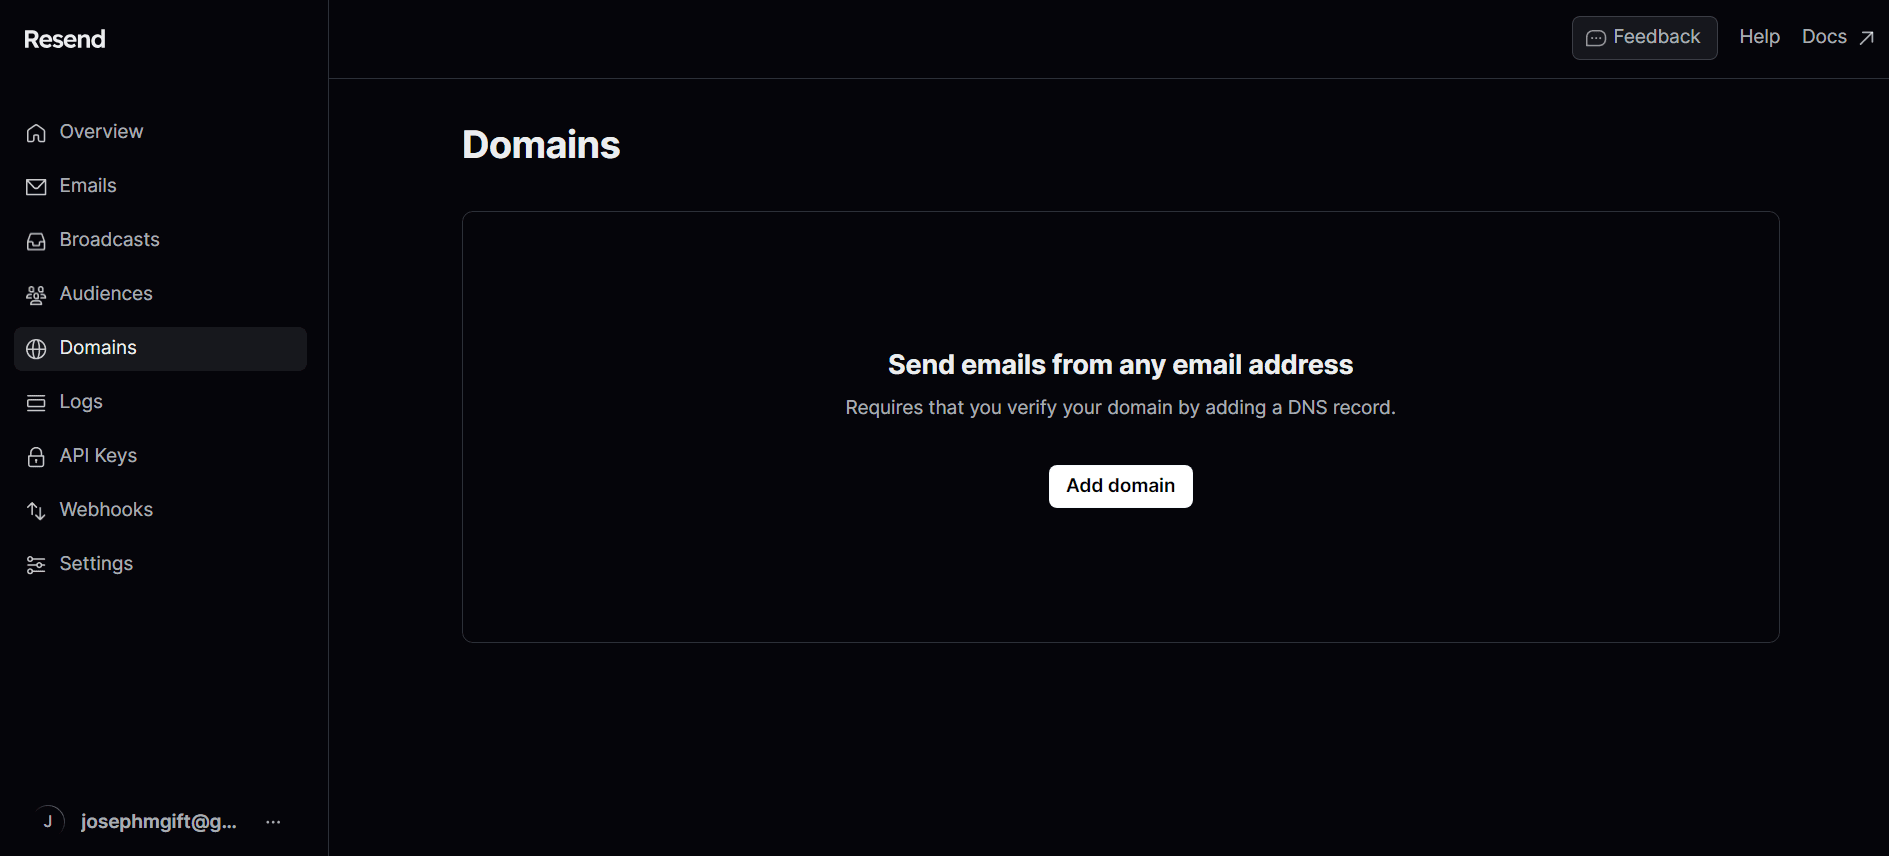
Go to the Resend dashboard and click domains.

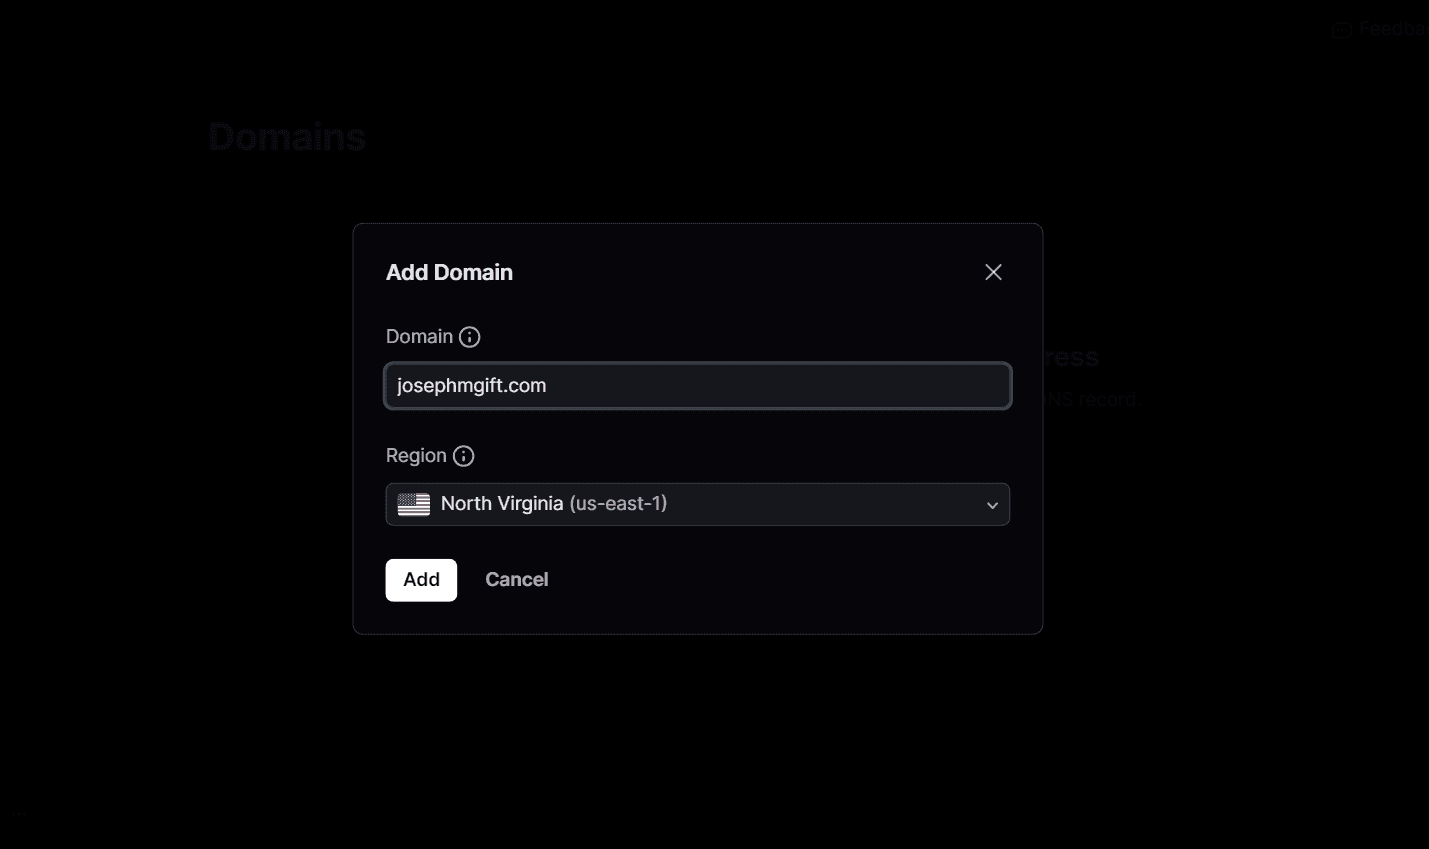
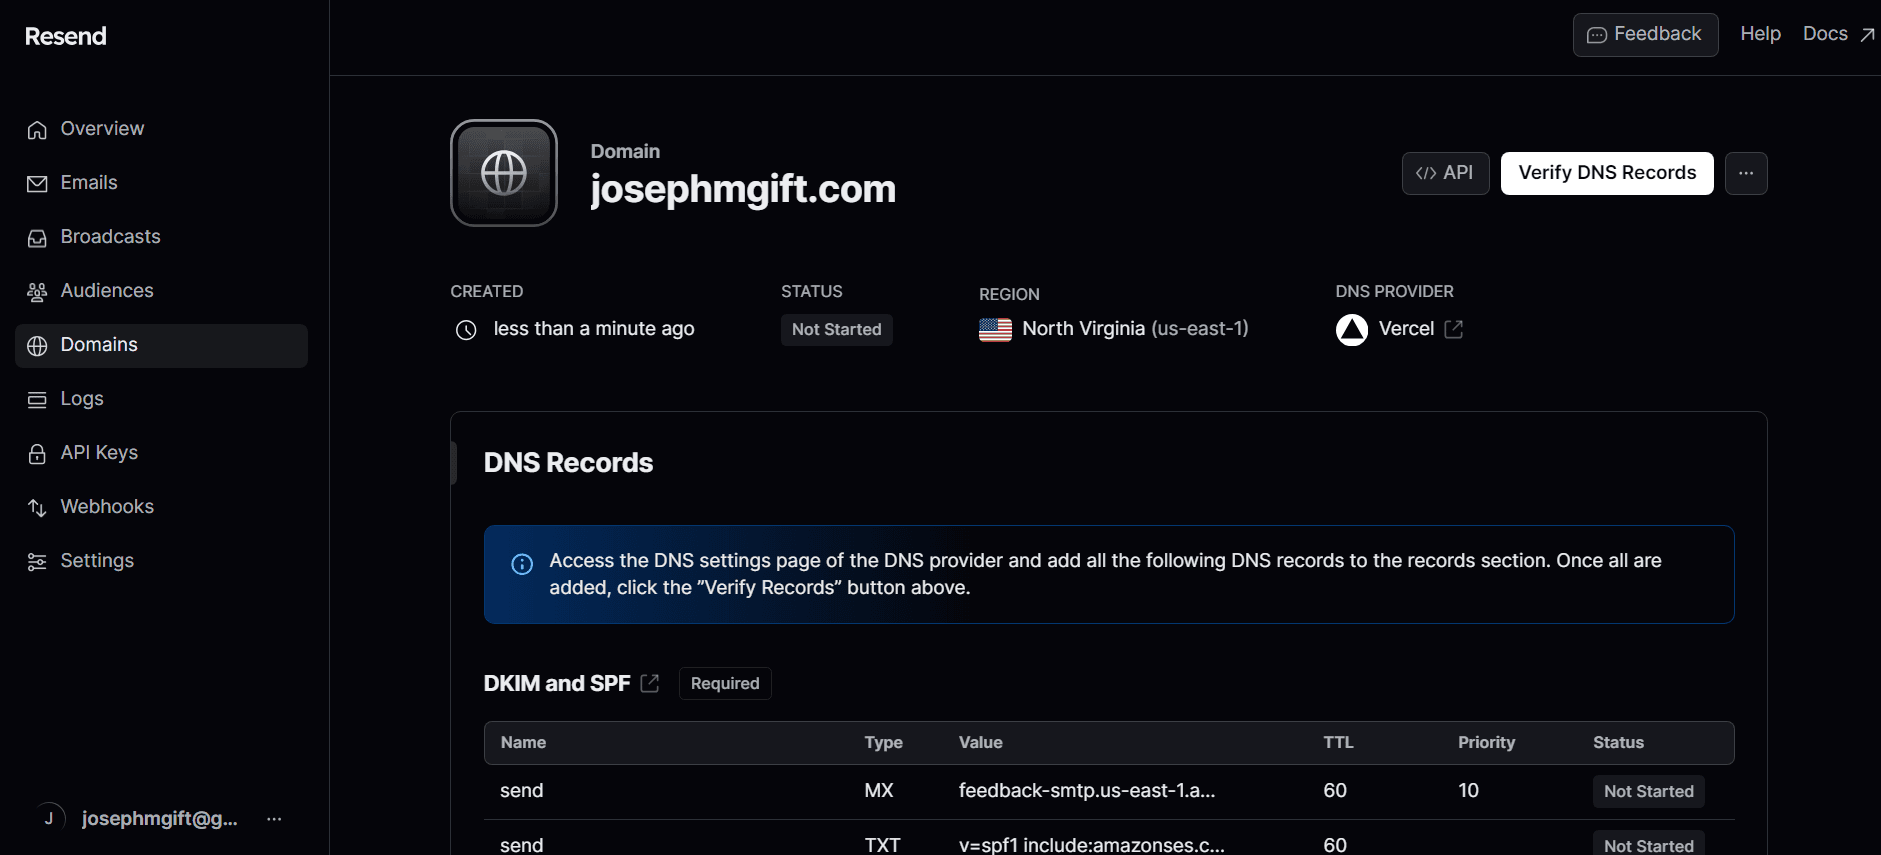
Enter your domain name then you will verify with your host provider.


3. Creating the Email Component
Creating an email component is so painful, but not anymore. We are going to use a library called React Email. React Email has built components that you can just import in your project or build your beautiful emails from scrath using their own components.
Here is a code of our email component:
components/email-component.tsx
import { Html, Button } from "@react-email/components";

export const Email = () => {
  return (
    <Html lang="en" dir="ltr">
      <Button href="https://example.com" style={{ color: "#61dafb" }}>
        Click me
      </Button>
    </Html>
  );
};
Lets go through it:
First install react email.
Terminal
npx create-email@latestThen install all the components for building the email.
Terminal
npm install @react-email/components -ENotice the Html and Body that we are importing from react email that we installed, these are but a few components that you can use to quickly build your email. If you want more, you can always check out the official docs.
4. Creating Forms and Functions
Nowe get back to our main component. We are going to butild the Function that will send the email and the form that will take an email input and send the email to that email.
app/page.tsx
import { Email } from "@/components/email-component";
import { Resend } from 'resend';

export default function Home() {

  async function sendEmail(formData: FormData) {
    "use server"

    const email = formData.get('useremail');

    const resend = new Resend('re_123456789');

    await resend.emails.send({
      from: 'josephmgiftdev.com',
      to: email as string,
      subject: 'hello world',
      react: <Email/>,
    });

  }

  return (
    <main>
      <form action={sendEmail}>
        <label htmlFor="">Email</label>
        <input type="email" name="useremail"/>
      </form>
    </main>
  );
}
Let's go through it:
Terminal
npm install resendWe have imported the Email Component to our Main Component and we are using Resend to send it.
- You need the resend API key to authentcate. Go to your dashboard.